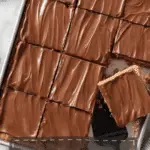
Nothing quite captures the nostalgic joy of school days like the Lunch Lady Peanut Butter Bars Recipe. These scrumptious bars boast a chewy peanut butter oatmeal cookie base topped with a luscious, salty-sweet layer of melted peanut butter and rich chocolate frosting that swirls over the top. Each bite offers a perfect harmony of flavors and textures that will instantly transport you back to cafeteria treat bliss. Whether you’re craving a comforting dessert or a fun snack to share with friends, this recipe delivers all the warmth and decadence you need in one unforgettable bar.
Ingredients You’ll Need
Ingredients You’ll Need
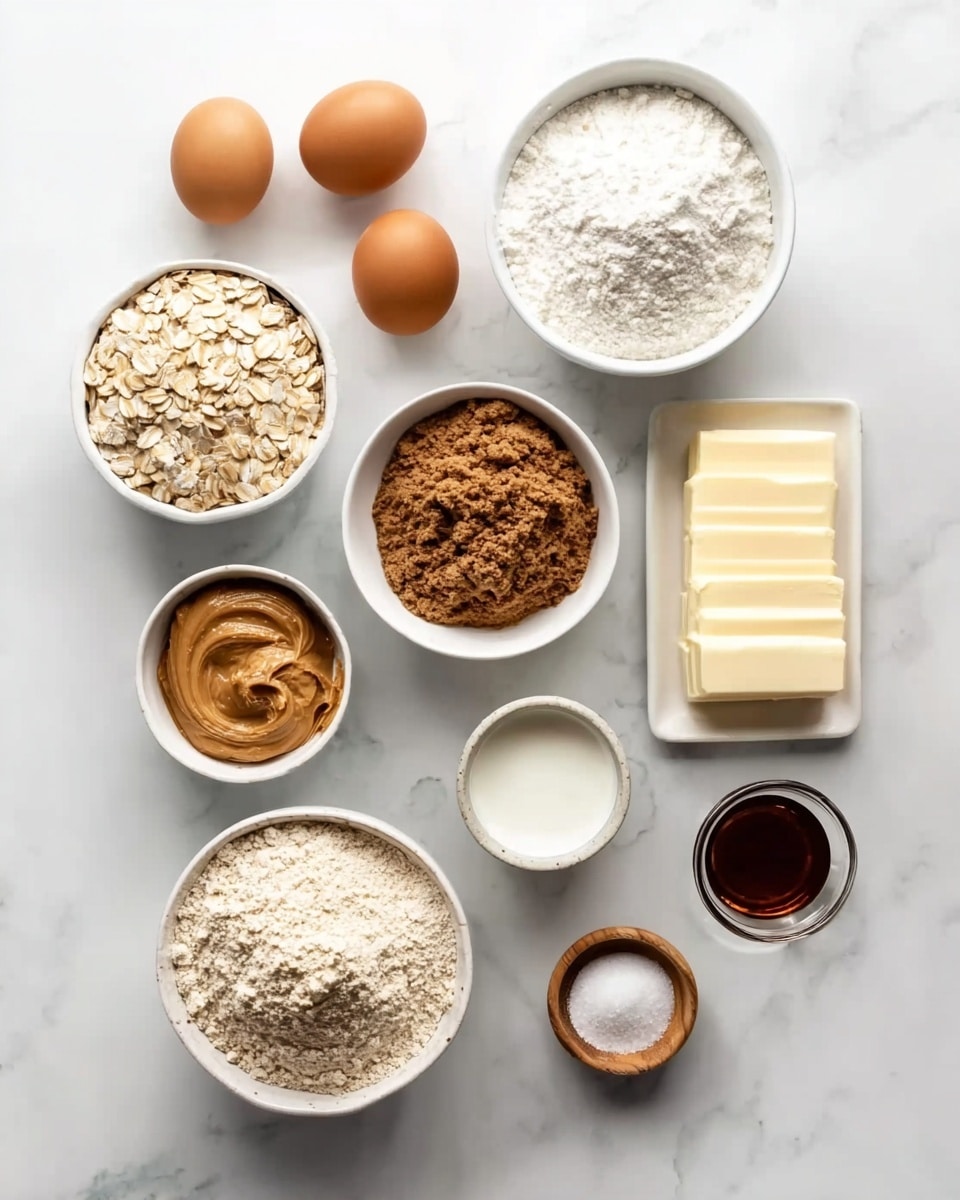
These simple, pantry-friendly ingredients come together in a way that highlights their best qualities—from creamy peanut butter to hearty oats—ensuring each bar is rich in flavor and texture. Every component plays a crucial role, balancing chewy, creamy, and chocolatey notes to create those iconic peanut butter bars we all love.
- Salted butter (1 1/2 cups total): Adds richness and moisture, giving the bars that tender chew.
- Granulated sugar (1 cup): Provides sweetness and helps with that slight crisp edge.
- Light brown sugar (1 cup, packed): Infuses a subtle caramel depth and keeps the bars soft.
- Creamy peanut butter (2 1/2 cups, divided): The star flavor with both base and drizzle roles, lending salty-sweet goodness.
- Large eggs (2): Binds everything together for structure and a soft crumb.
- Vanilla extract (2 teaspoons): Enhances all the flavors with its warm, fragrant notes.
- All-purpose flour (2 cups, scooped & leveled): Builds the body of the cookie base.
- Old-fashioned oats (2 cups): Adds chewiness and rustic texture that complements peanut butter perfectly.
- Baking soda (1 teaspoon): Helps the bars rise just enough for a perfect bite.
- Salt (1 teaspoon): Balances the sweetness and elevates all the flavors.
- Powdered sugar (3 cups): Sweetens and smooths the chocolate frosting layer.
- Cocoa powder (4 tablespoons): Brings a rich chocolate intensity to the frosting.
- Milk (1/4 cup): Ensures the frosting is creamy and spreadable.
How to Make Lunch Lady Peanut Butter Bars Recipe
Step 1: Prepare Your Pan and Mix the Dough
Start by preheating your oven to 350°F and prepping a half-sheet baking pan with nonstick spray. Next, in your mixing bowl, beat together the butter, granulated sugar, brown sugar, and 1 cup of peanut butter until the mixture is fluffy and creamy—this is what will give your bars that melt-in-your-mouth richness. Then, add the eggs and vanilla extract, beating again and making sure to scrape the sides so nothing is left behind.
Step 2: Combine Dry Ingredients and Form the Base
Now, sift together the flour, oats, baking soda, and salt in a separate bowl. Gradually add these dry ingredients to your buttery peanut butter mixture, folding just until everything is combined. You want that oatmeal cookie dough to be thick and hearty. Spread the mixture evenly in your prepared pan using a spatula. Pop it into the oven for about 15-17 minutes—wait until the edges turn golden but the center still looks slightly soft. Resist the urge to overbake to keep the bars chewy.
Step 3: Add the Peanut Butter Drizzle
While the bars are still hot, melt the remaining 1 1/2 cups of peanut butter in the microwave—about a minute should do it. Drizzle this molten peanut butter evenly over the warm base and spread it gently with a spatula or knife to form a thin, even layer. This salty-sweet magic will soak in slightly and firm up as the bars cool, creating that iconic flavor and texture contrast.
Step 4: Frost and Chill
Create the chocolate frosting by mixing together softened butter, powdered sugar, cocoa powder, milk, and vanilla extract until it’s silky smooth. Spread this luscious frosting evenly over the cooled peanut butter layer. Once frosted, allow the bars to chill until everything sets firmly—you can pop them into the fridge to speed this up. Finally, cut into 24 squares and get ready to delight in every bite of your homemade Lunch Lady Peanut Butter Bars Recipe!
How to Serve Lunch Lady Peanut Butter Bars Recipe
Garnishes
Keeping it simple works best with these bars, but if you want to dress them up a bit, sprinkle a few crushed peanuts on top of the frosting for a delightful crunch. A light dusting of cocoa powder or a drizzle of melted white chocolate can add a pretty touch while enhancing the chocolate-peanut butter combo.
Side Dishes
Serving these bars with a glass of cold milk is a classic pairing that never fails—milk’s creaminess perfectly complements the richness of peanut butter and chocolate. Alternatively, pair them with fresh fruit like apple slices or strawberries to add a refreshing contrast to the dense, chewy texture.
Creative Ways to Present
For a fun twist, cut the bars into bite-sized squares and serve them on a platter with toothpicks at a party or potluck. Layered in a dessert parfait with whipped cream and chopped nuts, these bars transform into an indulgent peanut butter-chocolate treat that’s as pretty as it is delicious. Gift them wrapped individually for the ultimate homemade snack surprise!
Make Ahead and Storage
Storing Leftovers
Keep any leftover bars in an airtight container at room temperature for up to 3 days to maintain that perfect chewy texture. If your kitchen is warm, storing them in the fridge is a safe bet—it will keep them fresh and keep the frosting firm, but allowing them to come to room temperature before serving will bring back that soft goodness.
Freezing
This Lunch Lady Peanut Butter Bars Recipe freezes beautifully. Wrap individual bars tightly in plastic wrap and place them in a freezer-safe container or bag. They’ll keep well for up to 3 months. When you’re ready to enjoy, thaw at room temperature or gently warm them for a freshly baked feel with minimal effort.
Reheating
If you’d like a warm, gooey treat, pop a bar in the microwave for about 10-15 seconds. This quick heat-up melts the peanut butter drizzle slightly and softens the frosting just enough to make each bite irresistibly comforting, like a freshly made cafeteria dessert.
FAQs
Can I use natural peanut butter for this recipe?
Natural peanut butter tends to be less sweet and can separate into oil and solids, which might affect the texture and spreadability of the bars. For the best results, stick with creamy, regular peanut butter that has a smooth consistency and a slight sweetness.
Is it possible to make this recipe gluten-free?
Absolutely! Substitute the all-purpose flour with a gluten-free flour blend of equal measure, and ensure you use certified gluten-free oats. This way, you can enjoy every bit of the Lunch Lady Peanut Butter Bars without any gluten concerns.
Can I make the chocolate frosting dairy-free?
Yes! Use a dairy-free butter substitute and a plant-based milk alternative like almond or oat milk. The frosting might have a slightly different texture but will still be delicious and complement the peanut butter bars wonderfully.
How do I prevent the bars from being too crumbly?
Be careful not to overbake the oatmeal base; pull them out once the edges are golden and the center is set but still soft. Also, ensure you incorporate all the wet ingredients well to help the bars hold together without crumbling.
Can I double the recipe for a larger batch?
Definitely! Just double all the ingredients and use a larger baking pan or two half-sheet pans. Keep an eye on baking times, as they may vary slightly depending on the thickness of the layer, but the overall process remains the same.
Final Thoughts
Making the Lunch Lady Peanut Butter Bars Recipe is like bringing a beloved memory to life with every chewy, chocolate-peanut butter-packed bite. It’s a simple recipe that yields extraordinary results, perfect for sharing or savoring in your own cozy moments. I encourage you to try it out—you’ll be smiling with every delicious mouthful and might just find this becomes your new favorite classic dessert!
Print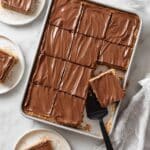
Lunch Lady Peanut Butter Bars Recipe
- Total Time: 1 hour 40 minutes
- Yield: 24 servings
Description
Enjoy these nostalgic Lunch Lady Peanut Butter Bars featuring a chewy peanut butter oatmeal cookie base topped with a smooth layer of melted peanut butter and rich chocolate frosting swirls. These classic American dessert bars combine sweet and salty flavors with a delightful texture perfect for any occasion.
Ingredients
Bars
- 1 cup salted butter, softened (227g)
- 1 cup granulated sugar (200g)
- 1 cup packed light brown sugar (200g)
- 2 ½ cups creamy peanut butter, divided
- 2 large eggs
- 2 teaspoons vanilla extract
- 2 cups all-purpose flour, scooped & leveled (282g)
- 2 cups old-fashioned oats
- 1 teaspoon baking soda
- 1 teaspoon salt
Frosting
- ½ cup salted butter, softened (114g)
- 3 cups powdered sugar
- 4 tablespoons cocoa powder
- ¼ cup milk
- 2 teaspoons vanilla extract
Instructions
- Preheat and prepare pan: Preheat your oven to 350°F (175°C). Spray a half-sheet baking sheet (13″x18″) with baking spray to prevent sticking.
- Make the cookie batter: In a mixer, beat the softened butter, granulated sugar, brown sugar, and 1 cup of the creamy peanut butter until creamy and light in texture. Add the eggs and vanilla extract, beating again while scraping down the bowl to ensure even mixing.
- Add dry ingredients: Add the all-purpose flour, old-fashioned oats, baking soda, and salt to the wet mixture. Mix just until combined to avoid overworking the dough. Spread the peanut butter oatmeal cookie dough evenly into the prepared baking pan using a spatula.
- Bake the base: Bake the dough for 15-17 minutes until the edges are golden brown and the center is just barely set. Avoid overbaking as the center should remain chewy.
- Apply peanut butter layer: While the bars are still hot, melt the remaining 1 ½ cups of creamy peanut butter in the microwave for 1 minute in a microwave-safe bowl. Drizzle and spread this melted peanut butter evenly over the baked bars. Allow it to cool completely to firm up, or refrigerate to speed up the process.
- Prepare chocolate frosting: Beat together the softened butter, powdered sugar, cocoa powder, milk, and vanilla extract in a large bowl until smooth and creamy.
- Frost and serve: Spread the chocolate frosting evenly over the cooled bars. Once frosted, cut into 24 squares and serve.
Notes
- Do not overbake the bars to maintain a chewy texture.
- Use old-fashioned oats for the best chewiness; quick oats may alter texture.
- Refrigerate the bars after applying melted peanut butter to speed up the setting process.
- Ensure peanut butter is creamy for smooth spreading in both the base and the melted layer.
- For easier cutting, chill the bars after frosting.
- Prep Time: 25 minutes
- Cook Time: 15 minutes
- Category: Dessert
- Method: Baking
- Cuisine: American

