Craving a unique dessert that combines the beloved flavors of Dr. Pepper and creamy ice cream? Look no further! This Dr. Pepper Ice Cream is a no-churn recipe, which means you don’t need an ice cream maker. The smooth, fizzy soda flavor is blended with a rich, creamy texture for a refreshing treat that’s perfect for warm days or whenever you’re looking to enjoy something a little different. With just three ingredients, this dessert is as simple as it is delicious!
Why You’ll Love This Recipe
Dr. Pepper Ice Cream is a fun and inventive dessert that brings the iconic soda’s bold flavors into a creamy, frozen treat. The best part? It’s a no-churn recipe, so it’s easy to make with minimal effort. The fizzy sweetness of Dr. Pepper infuses the ice cream base with a distinct, refreshing taste, while the heavy cream provides a rich and smooth texture. Perfect for a hot summer day or as a unique dessert for a party, this ice cream is sure to wow your guests and satisfy your sweet tooth. Plus, it’s so easy to whip up, with no special equipment required beyond a mixer!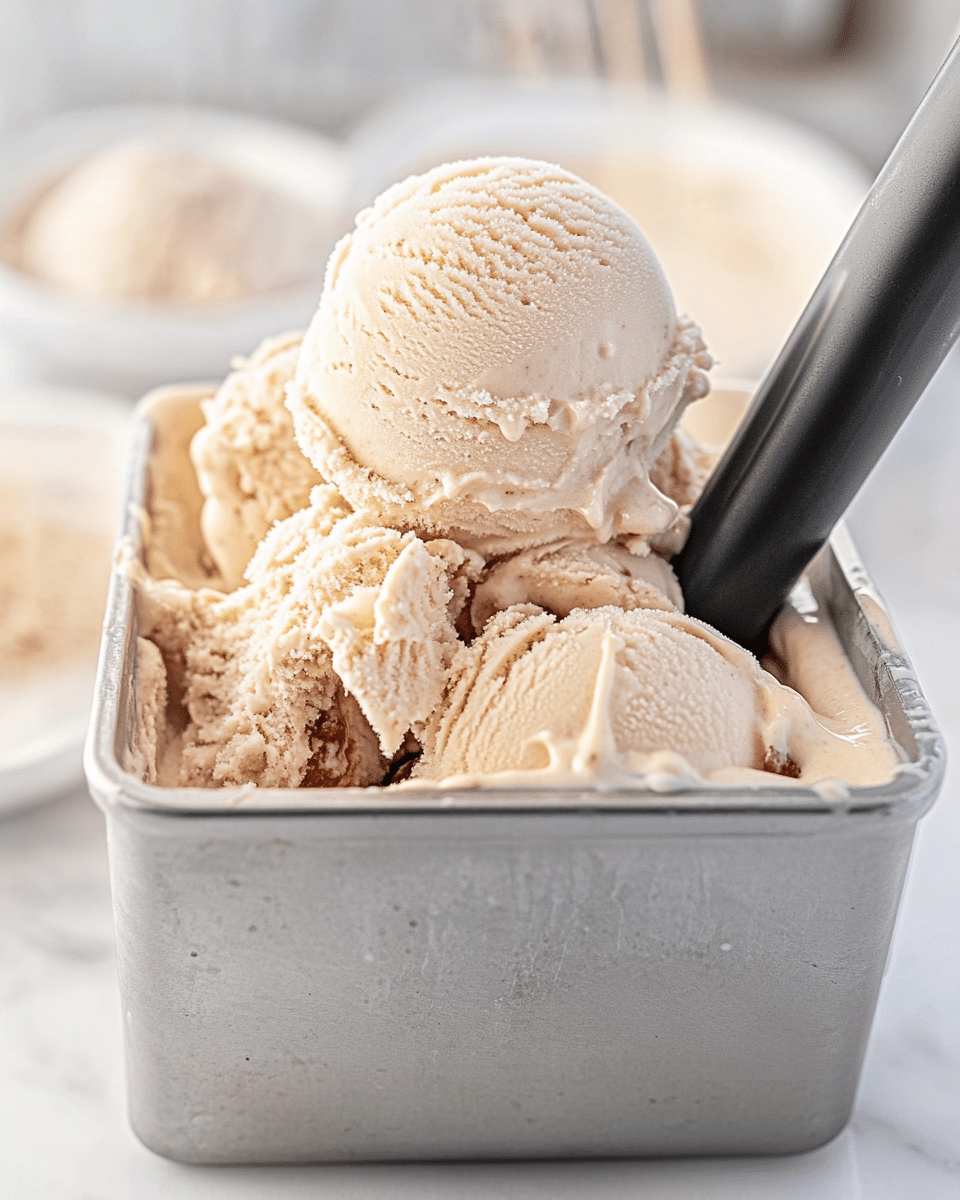
Ingredients
-
14 ounces container of sweetened condensed milk
-
12 ounces can of Dr. Pepper (cold)
-
2 cups cold heavy cream
(Tip: You’ll find the full list of ingredients and measurements in the recipe card below.)
Directions
-
Place a 10x5x3 loaf pan, the bowl and whisk attachment of a stand mixer, or a medium-size (2-3 quart) mixing bowl and the beaters of a handheld mixer in the freezer for 30 minutes.
-
In a medium-size bowl, add the sweetened condensed milk.
-
Slowly stir the cold Dr. Pepper into the sweetened condensed milk. Stirring the soda in slowly helps reduce the amount of bubbles when combining, and for faster freezing, ensure the soda is cold.
-
Remove the mixer bowl and attachments from the freezer. Add the cold heavy cream to the cold mixing bowl. Beat on medium-high speed for about 1 minute until the cream is slightly frothy. Increase the mixer speed to high and continue to mix until the cream forms stiff peaks, about 1 ½ – 2 minutes.
-
Gently fold the whipped cream into the Dr. Pepper milk mixture, 1 cup at a time, using a silicone spatula.
-
Remove the loaf pan from the freezer. Evenly spoon the ice cream base into the cold loaf pan. Use an offset spatula or silicone spatula to smooth the top.
-
Cover tightly with heavy-duty aluminum foil and freeze for 6 hours, or until the ice cream is firm. Check around the 4-hour mark for firmness, as freezers cool differently.
-
Serve the Dr. Pepper ice cream in bowls or cones. Optionally, pour more Dr. Pepper over the ice cream to make a float.
Servings and Timing
-
Servings: 6 servings
-
Prep Time: 20 minutes
-
Freeze Time: 6 hours 30 minutes
-
Total Time: 6 hours 50 minutes
Variations
-
Make it a float: For a fun twist, pour some chilled Dr. Pepper over the ice cream to create a delicious Dr. Pepper float.
-
Add toppings: Top the ice cream with chocolate chips, crushed nuts, or even a drizzle of caramel or chocolate sauce for extra flavor.
-
Swap the soda: While Dr. Pepper is the star of this recipe, feel free to experiment with other sodas like cherry cola for a new flavor combination.
Storage/Reheating
-
Storage: Store the ice cream in an airtight container in the freezer for up to 2 weeks. Keep it tightly covered to prevent freezer burn.
-
Reheating: Since this is a no-churn ice cream, it doesn’t require reheating. If it becomes too hard to scoop, let it sit at room temperature for a few minutes before serving.
FAQs
Can I make this ice cream without a mixer?
While a mixer makes the process easier, you can manually whisk the heavy cream to stiff peaks if necessary. It will take more effort, but it’s possible.
Can I use a different soda besides Dr. Pepper?
Yes! You can try cola, or even cherry soda for a similar effect. Experiment with different flavors for a fun variation.
Do I have to freeze the bowl and mixer attachments?
Freezing the bowl and attachments helps to achieve stiff peaks faster and ensures the whipped cream holds its structure. If you skip this step, you may need a little more time to achieve the right consistency.
How do I know when the ice cream is firm enough?
After about 6 hours in the freezer, the ice cream should be firm to the touch. If you’re unsure, check around the 4-hour mark to see if it has reached the desired consistency.
Can I make this recipe ahead of time?
Yes! This ice cream is perfect for making ahead of time. Simply prepare it, freeze it, and enjoy when you’re ready.
Can I add mix-ins like chocolate chips or nuts?
Absolutely! Fold in some chocolate chips, crushed nuts, or even mini marshmallows before freezing for added texture and flavor.
Can I use fat-free or light cream?
Heavy cream is best for achieving the right texture and creaminess, but you can use lighter cream if you’re looking to reduce fat content. Just note that the texture might not be as rich.
What can I serve with this ice cream?
Serve with a simple dessert like brownies, cake, or pie, or enjoy it as is with a drizzle of extra Dr. Pepper for a float.
How long can I store the Dr. Pepper ice cream?
Store it in the freezer for up to 2 weeks. Make sure it’s tightly covered to maintain the best flavor and texture.
Can I double this recipe?
Yes! If you’re expecting a crowd, simply double the ingredients and use a larger pan or container to freeze the ice cream.
Conclusion
Dr. Pepper Ice Cream is a fun, flavorful treat that’s perfect for anyone looking to try something new and exciting. With just three simple ingredients and no need for an ice cream maker, you can create this creamy, fizzy dessert with ease. Whether you’re a Dr. Pepper fan or just looking for a unique ice cream experience, this no-churn recipe will leave you craving more. Enjoy it as a float, top it with your favorite toppings, or serve it on its own for a cool, refreshing treat!
Print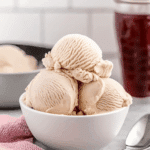
Dr. Pepper Ice Cream
- Total Time: 6 hours 50 minutes
- Yield: 6 servings
- Diet: Vegetarian
Description
This creamy, no-churn ice cream combines the sweet, fizzy flavor of Dr. Pepper with a smooth, rich texture, making it the perfect dessert with just three ingredients.
Ingredients
- 14 ounces container of sweetened condensed milk
- 12 ounces can of Dr. Pepper (cold)
- 2 cups cold heavy cream
Instructions
- Place a 10x5x3 loaf pan, the bowl and whisk attachment of a stand mixer, or a medium-size (2-3 quart) mixing bowl and the beaters of a handheld mixer in the freezer for 30 minutes.
- In a medium-size bowl, add the sweetened condensed milk.
- Slowly stir the Dr. Pepper into the sweetened condensed milk. Stirring the soda in slowly helps reduce the amount of bubbles when combining. For faster freezing, ensure the soda is cold.
- Remove the mixer bowl and attachments from the freezer. Add the cold heavy cream to the cold mixing bowl. Beat on medium-high speed for about 1 minute until the cream is slightly frothy. Increase the mixer speed to high and continue to mix until the cream forms stiff peaks, about 1 ½ – 2 minutes.
- Gently fold the whipped cream into the Dr. Pepper milk mixture, 1 cup at a time, using a silicone spatula.
- Remove the loaf pan from the freezer. Evenly spoon the ice cream base into the cold loaf pan. Use an offset spatula or silicone spatula to smooth the top.
- Cover tightly with heavy-duty aluminum foil and freeze for 6 hours, or until the ice cream is firm. Check around the 4-hour mark for firmness, as freezers cool differently.
- Serve the Dr. Pepper ice cream in bowls or cones. Optionally, pour more Dr. Pepper over the ice cream to make a float.
Notes
- Ensure the Dr. Pepper is cold for faster freezing.
- For extra flavor, serve with more Dr. Pepper poured on top for a float.
- Check ice cream firmness at the 4-hour mark as freezing times may vary.
- Prep Time: 20 minutes
- Category: Dessert
- Method: No-Churn
- Cuisine: American
Nutrition
- Serving Size: 1 serving
- Calories: 250 kcal
- Sugar: 34g
- Sodium: 40mg
- Fat: 12g
- Saturated Fat: 7g
- Unsaturated Fat: 4g
- Trans Fat: 0g
- Carbohydrates: 33g
- Fiber: 0g
- Protein: 2g
- Cholesterol: 35mg

