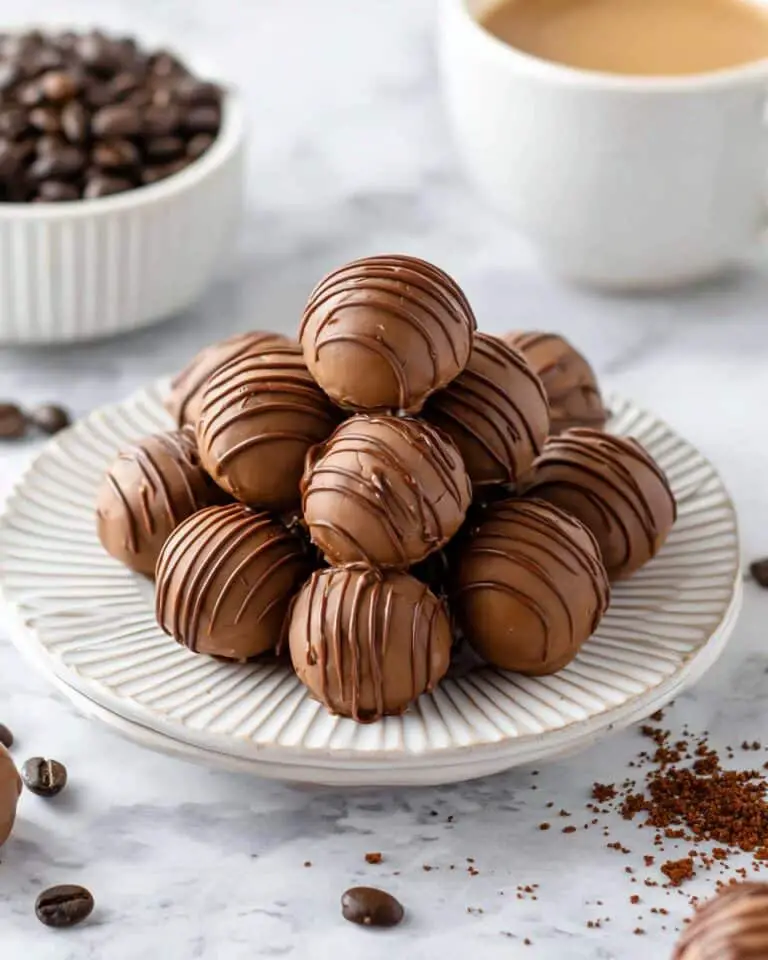
There is nothing quite like indulging in a delicious, protein-packed treat that feels both wholesome and satisfying. This Frozen Yogurt Peanut Butter Cups Recipe is exactly that kind of dessert, blending creamy Greek yogurt, rich peanut butter, and a touch of chocolate into perfectly portioned cups that you can pull right from the freezer whenever the craving hits. They are naturally sweet, high in protein, and incredibly easy to make, making them a go-to snack for anyone who loves a balance of indulgence and nutrition. You will love how these little cups bring together simple ingredients into a delightful snack that feels like a special treat but fuels your day.
Ingredients You’ll Need
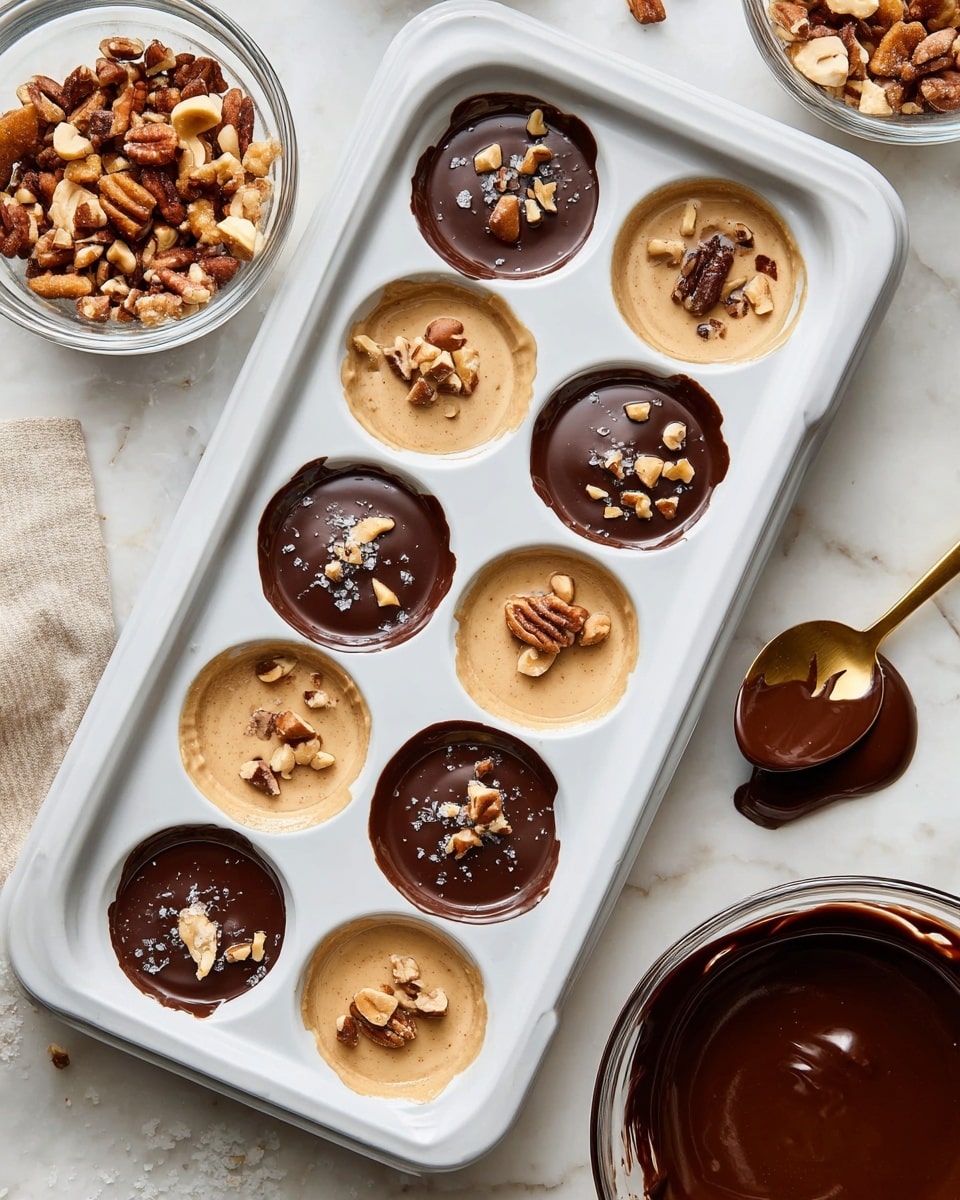
The magic of this Frozen Yogurt Peanut Butter Cups Recipe lies in its simplicity. Each ingredient plays an essential role, from adding texture to boosting flavor and, of course, packing in the nutrition that keeps you energized.
- Granola (¾ cup, slightly crushed): Adds a satisfying crunch and a wholesome base to these cups.
- Plain or vanilla whole milk Greek yogurt (1 ¼ cup): The creamy, high-protein foundation that keeps these cups light yet filling.
- Natural peanut butter (⅓ cup): Provides rich, nutty flavor and healthy fats that make each bite indulgent.
- Puori Vanilla Protein Powder (¾ cup): Supercharges each cup with 10 grams of protein, keeping sugar low and nutrition high.
- Semi-sweet chocolate chips (⅓ cup): Melts smoothly to form a luscious chocolate layer on top, bridging flavors perfectly.
- Coconut oil (1 teaspoon): Helps melt the chocolate to a pleasing glossy finish and aids easy drizzling.
- Optional toppings: Flaky sea salt and/or extra granola to add texture and enhance the flavor contrast.
How to Make Frozen Yogurt Peanut Butter Cups Recipe
Step 1: Prepare the Base
Start by lightly crushing your granola and adding about a scant tablespoon to each well of a silicone muffin pan. The granola forms the crunchy base, so make sure it evenly covers the bottom. This base will add a wonderful texture contrast once the yogurt mixture is added.
Step 2: Mix the Yogurt Filling
In a mixing bowl, combine the Greek yogurt, natural peanut butter, and vanilla protein powder. Mix them thoroughly until you get a smooth, creamy consistency. This combination is not only delicious but also packs a hefty protein punch that makes these cups both satisfying and guilt-free.
Step 3: Fill the Muffin Wells
Divide the yogurt mixture equally among the granola-lined wells, about 3 tablespoons per cup. Spread the mixture evenly on top of the granola, using the back of a spoon to smooth it down and help it settle. Tap the muffin pan gently on the counter a couple of times to settle everything neatly into place, ensuring a compact base with a creamy top.
Step 4: Freeze for Initial Setting
Place the muffin pan in the freezer and let the yogurt peanut butter cups harden slightly for about 30 minutes. This step is crucial so that the chocolate topping will set properly when drizzled over the cups.
Step 5: Melt the Chocolate
While the cups chill, add your semi-sweet chocolate chips and coconut oil to a microwave-safe dish. Heat in 30-second intervals, stirring between each turn, then switch to 10-second bursts once it’s close to melting. Stir until you achieve a smooth, glossy chocolate that is easy to drizzle.
Step 6: Top with Chocolate and Freeze
Remove the partially frozen yogurt cups from the freezer and spoon or drizzle the melted chocolate over each one. If you love that sweet-salty combo, sprinkle some flaky sea salt or extra granola on top while the chocolate is still soft so it sticks. Finally, return the pan to the freezer to let the chocolate fully set and the cups become firm, ideally for at least 45 minutes or overnight.
How to Serve Frozen Yogurt Peanut Butter Cups Recipe
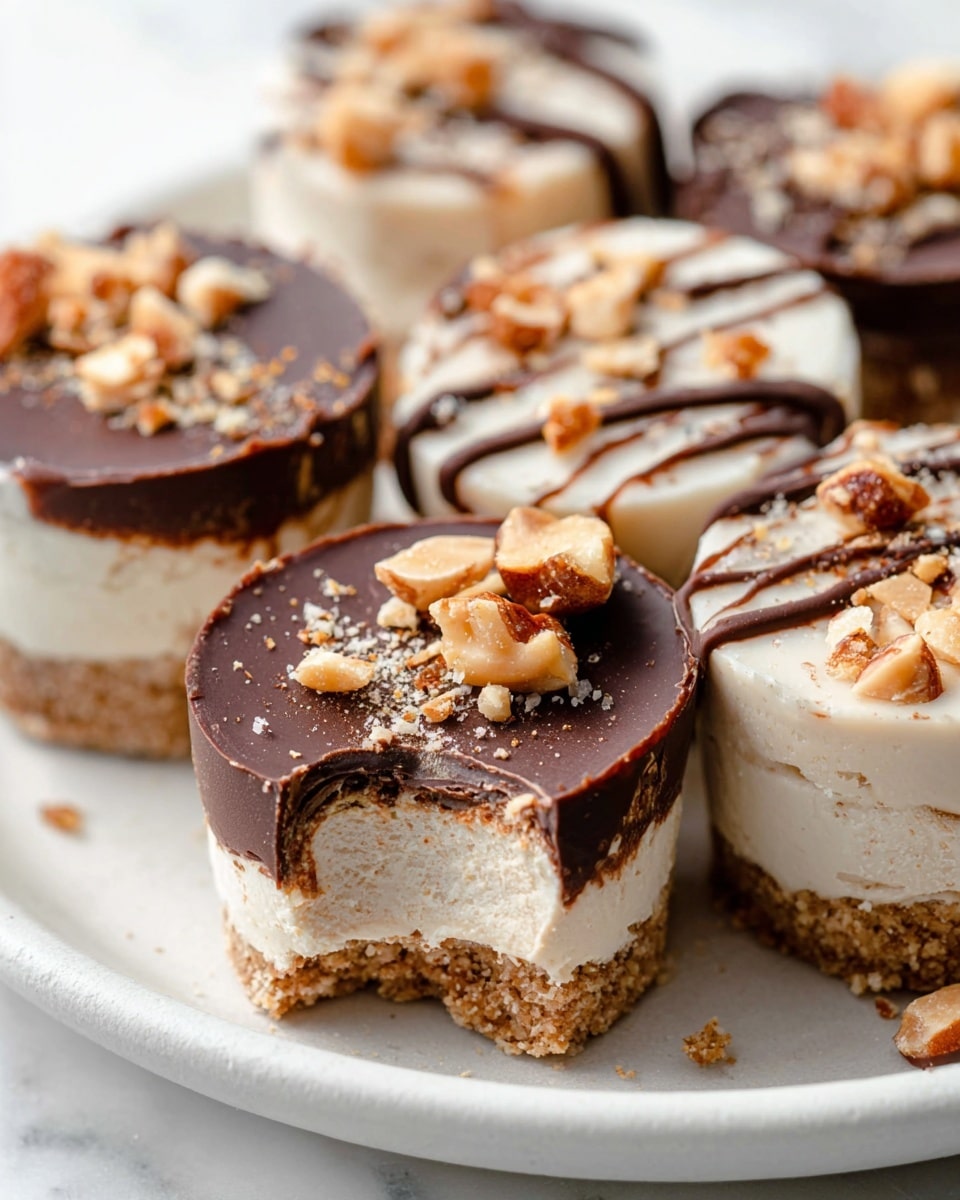
Garnishes
These cups are already beautiful on their own, but a few simple garnishes can elevate the experience. A sprinkle of flaky sea salt enhances the chocolate and peanut butter flavors perfectly, while a dusting of extra granola adds crunch and visual appeal. Fresh berry slices or a drizzle of honey can also add a pop of color and natural sweetness.
Side Dishes
Serve your frozen yogurt peanut butter cups alongside fresh fruit or a light smoothie for a well-rounded snack or light dessert. A bowl of mixed berries complements the richness with refreshing tartness. Alternatively, pairing them with a cup of herbal tea creates a soothing balance of warm and cold sensations.
Creative Ways to Present
For a fun twist, place these cups on a decorative dessert tray lined with parchment paper and sprinkle a little extra granola around each. You can also pop them out of the silicone mold for bite-sized treats perfect for parties or to pack in lunchboxes. Arrange them on small dessert plates with edible flowers to impress your guests visually and gastronomically.
Make Ahead and Storage
Storing Leftovers
Keep any leftover frozen yogurt peanut butter cups stored in an airtight container or in the silicone muffin pan, tightly covered with plastic wrap. Store them in the freezer to maintain their shape, texture, and freshness until you’re ready to enjoy them again.
Freezing
This recipe is designed with freezer storage in mind. After preparing and topping the cups with chocolate, freeze them for a minimum of 45 minutes to allow everything to firm up properly. You can keep them frozen for up to two weeks without any loss in flavor or texture, making it easy to enjoy your treat anytime.
Reheating
No need for microwaves here! Simply take the cups out of the freezer and let them sit at room temperature for about 20 to 30 minutes before serving. This softens the yogurt and chocolate just enough to give you a creamy, melt-in-your-mouth experience without losing their refreshing chill.
FAQs
Can I use flavored yogurt instead of plain or vanilla?
Absolutely! While vanilla adds a nice subtle sweetness that complements peanut butter and chocolate, you can experiment with flavors like honey or even strawberry for a unique twist. Just keep in mind that more intense flavors might change the overall taste balance.
Is it necessary to use a silicone muffin pan?
A silicone pan is recommended because it makes it much easier to pop out the frozen cups without breaking them. However, if you only have a metal or plastic muffin tray, you can line the wells with parchment paper cups to help with removal.
Can I substitute protein powder in this recipe?
Yes, you can use any vanilla-flavored protein powder you prefer. Just note that different protein powders may alter the texture slightly, so blend well to ensure smoothness in the yogurt mixture.
How do I prevent the chocolate from cracking when I freeze the cups?
Using coconut oil with the chocolate helps keep it more flexible and shiny when frozen. Also, make sure the chocolate layer isn’t too thick, so it sets evenly and is less likely to crack when you bite into it or remove it from the mold.
Can I make these cups vegan or dairy-free?
Definitely! Swap regular Greek yogurt for a plant-based alternative like coconut or almond yogurt, and use a vegan protein powder. Be sure your peanut butter and chocolate chips are dairy-free as well. The texture might vary slightly but the flavor will still shine.
Final Thoughts
This Frozen Yogurt Peanut Butter Cups Recipe is one of my all-time favorite go-to snacks for when I want something that tastes indulgent but feels nourishing. With simple ingredients and straightforward steps, you can have a freezer-ready treat that appeals to both your health goals and your sweet tooth. Give these cups a try—you might just find yourself making them again and again!
Print
Frozen Yogurt Peanut Butter Cups Recipe
- Total Time: 15 mins prep + 2 hours freezing
- Yield: 12 cups
- Diet: Low Fat
Description
These Frozen Yogurt Peanut Butter Cups are a high-protein, low-sugar treat perfect for a nutritious snack or dessert. Combining creamy Greek yogurt, natural peanut butter, and vanilla protein powder, layered over a crunchy granola base and topped with a smooth chocolate shell, these cups freeze into a deliciously satisfying bite. Easy to prepare and freezer-friendly, they provide about 10 grams of protein each with only 5 grams of sugar, making them a guilt-free indulgence.
Ingredients
Base
- ¾ cup granola of choice, slightly crushed
Yogurt Mixture
- 1 ¼ cup plain or vanilla whole milk Greek yogurt
- ⅓ cup natural peanut butter
- ¾ cup Puori Vanilla Protein Powder (68–70 g)
Chocolate Topping
- ⅓ cup semi sweet chocolate chips
- 1 teaspoon coconut oil
Optional Toppings
- Flaky sea salt
- Additional granola for topping
Instructions
- Prepare the granola base: In a silicone muffin pan, add a scant 1 tablespoon of slightly crushed granola to each well, just enough to cover the bottom.
- Mix yogurt filling: In a bowl, combine the Greek yogurt, natural peanut butter, and vanilla protein powder thoroughly until smooth and well blended.
- Fill muffin wells: Divide the yogurt mixture evenly among the muffin pan wells, using about 3 tablespoons per well, placing it on top of the granola layer. Spread the mixture evenly using the back of a spoon, then gently tap the pan on the counter to help the mixture settle and integrate with the granola.
- Freeze to set: Place the filled muffin pan into the freezer and allow the yogurt cups to harden slightly, approximately 30 minutes.
- Melt chocolate topping: In a microwave-safe bowl, combine the semi sweet chocolate chips and coconut oil. Heat in 30-second increments, stirring between each, then switch to 10-second increments as the chocolate nears melting, until fully smooth and melted.
- Add chocolate layer: Remove the partially frozen yogurt cups from the freezer and spoon or drizzle the melted chocolate over each cup. While the chocolate is still melted, optionally sprinkle flaky sea salt or additional granola over the top so it adheres well.
- Final freeze: Return the muffin pan to the freezer and freeze until the cups are fully firm and ready to serve, at least 45 minutes or preferably overnight for best texture.
- Serve: To serve, remove cups from the freezer and let them sit at room temperature for 20-30 minutes to soften slightly for optimal eating consistency.
- Storage: Keep any leftover peanut butter cups stored in the freezer to maintain freshness and firmness.
Notes
- Using a silicone muffin pan helps with easy removal of the frozen cups.
- You can substitute the protein powder with your preferred flavor as long as it complements the peanut butter and vanilla profile.
- Adjust the amount of granola to your texture preference for crunch versus creaminess.
- If you want a dairy-free version, try Greek-style plant-based yogurts and ensure your chocolate chips are vegan.
- Make sure not to overheat the chocolate to avoid burning; stirring frequently helps ensure smooth melting.
- Letting the cups soften slightly before eating improves texture and flavor release.
- Prep Time: 15 mins
- Cook Time: 0 mins
- Category: No-Cook
- Method: No-Cook
- Cuisine: American

